Home Office & Streaming
The Complete Streaming Setup Guide
8 pieces of gear across two tiers, how they connect to each other, and exactly how to set each one up — not just what to buy.
This is two tiers, not one flat list. Tier 1 is the four categories that make the biggest difference to how you sound and look on camera — get these right first. Tier 2 is what you add once Tier 1 is solid: monitoring, a second display, local recording backup, and a way to connect everything through one cable instead of four.
Each item below includes the actual setup steps, not just a spec sheet.
How it all connects
Mic (USB-C)
+
Webcam (USB)
+
Stream Deck (USB)
+
Monitor
+
SSD
↓ all plug into ↓
Thunderbolt Dock (Tier 2)
→
Laptop / PC
→
OBS / Zoom / Teams
The Key Light is the one exception — it runs on its own power and Wi-Fi (via the Elgato app), it doesn't plug into your computer at all. Headphones plug into either the dock or the mic's own headphone jack for zero-latency monitoring.
Tier 1
The Core Four
Get these right before spending on anything else — they're what viewers and call participants actually notice.
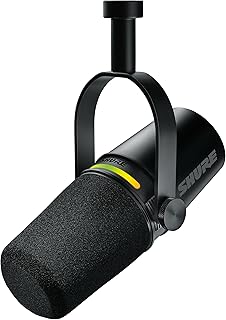
Audio
Shure MV7+ USB-C & XLR Podcast Microphone
Dynamic USB-C and XLR mic with auto level mode, digital pop filter, and an LED status panel. OBS-certified.
How to set it up
- Connect via USB-C directly to your computer — no audio interface needed. The XLR port is only worth using if you already own a mixer or audio interface for routing multiple sources.
- Position it 4–6 inches from your mouth, slightly off to the side rather than directly in front, to reduce plosives (the "p" and "b" pops) without needing a separate pop filter.
- In the MOTIV mixer app, turn on Auto Level Mode if you don't want to manually ride gain — otherwise set gain so your peaks hit around -12dB to -6dB in your recording software, not 0dB.
- Mute/unmute from the mic's touch panel, or assign it to a Stream Deck key once you have one (see Tier 2).
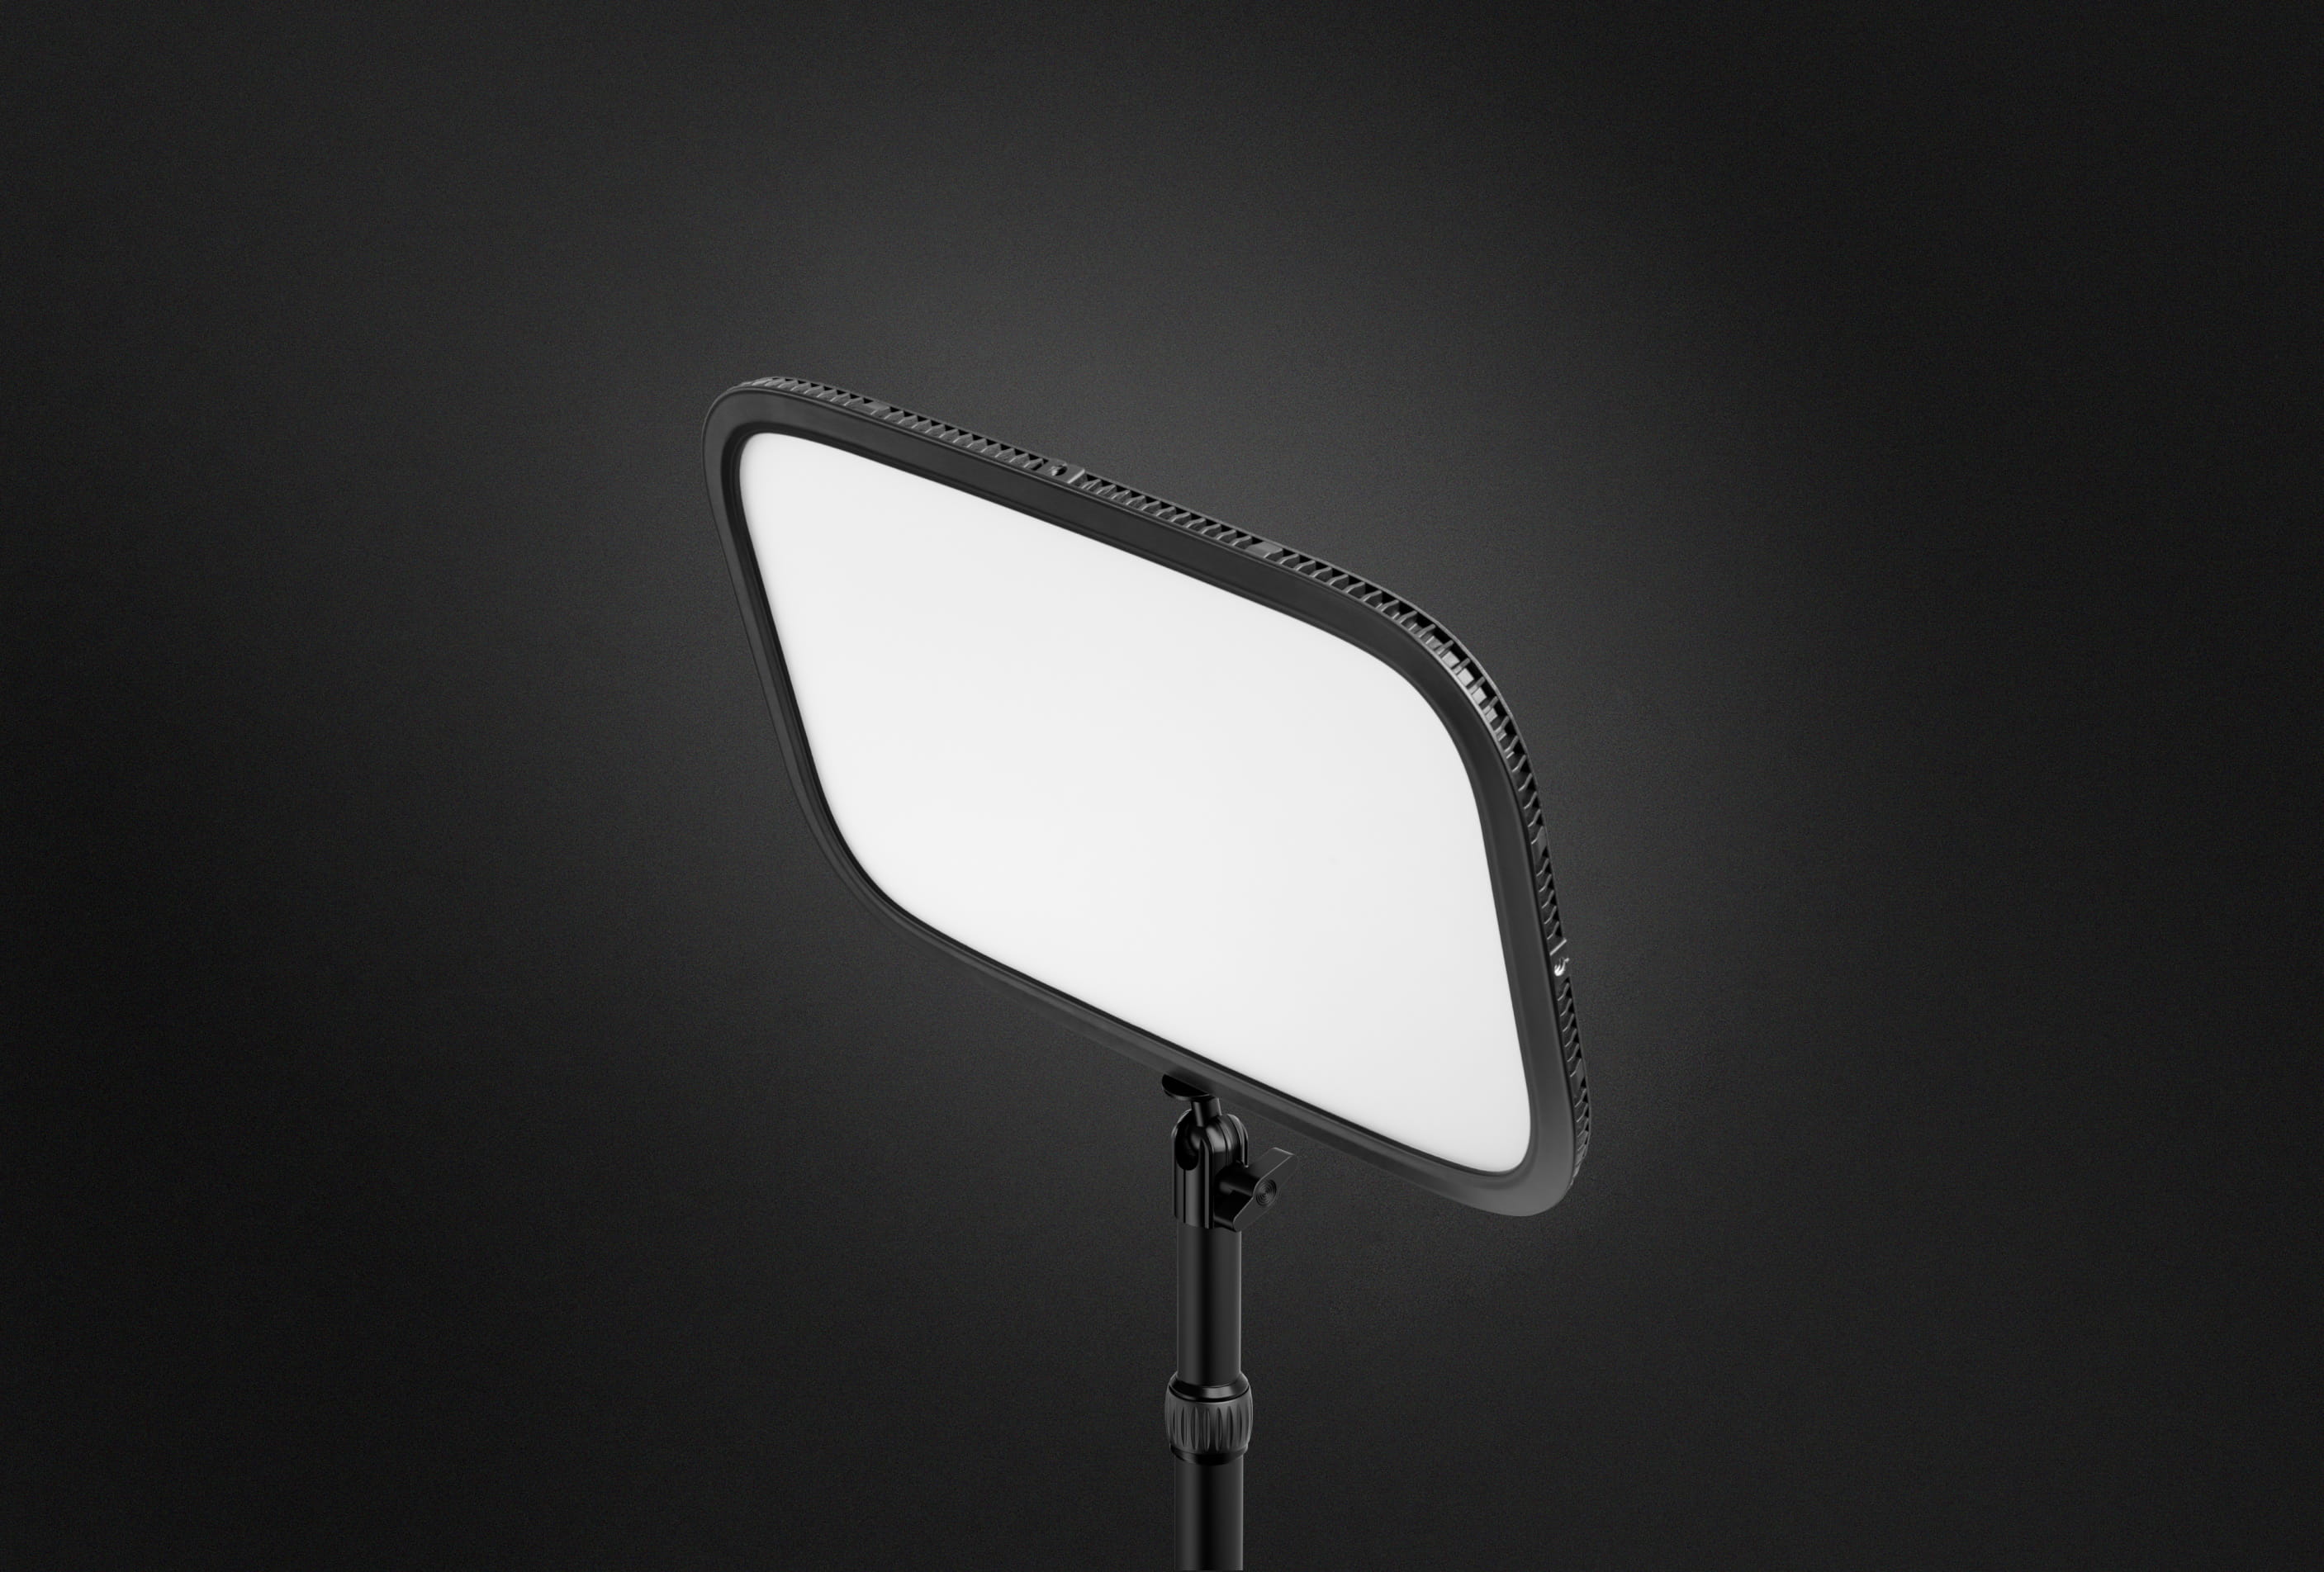
Light
Elgato Key Light
App-controlled brightness and color temperature. The fastest fix for washed-out or dim video.
How to set it up
- Clamp it to your desk positioned above and slightly in front of your camera, angled down at roughly 45°. Avoid placing it directly behind you (backlighting silhouettes you) or straight-on at face height (flat, harsh light).
- Install the Elgato Control Center app and match the color temperature to your room's ambient light — most home offices sit around 4500–5000K. Mismatched color temps are what make a face look artificially orange or blue on camera.
- Set brightness to the lowest level that still lights your face evenly — full brightness this close is usually more than you need and can wash out detail.
- If you add a Stream Deck later, assign a key to toggle it on/off instead of reaching for the app every time.
Camera
Razer Kiyo Pro Ultra 4K Webcam
Pro-grade 4K webcam with a large sensor, auto light correction, and a physical shutter.
How to set it up
- Mount it on top of your monitor, centered, at eye level — not tilted up (unflattering angle) or off to the side (you'll look like you're not facing the camera).
- Select it as the video source in OBS, Zoom, or Teams under camera/video settings — it should appear automatically as a USB device, no driver install needed.
- Enable auto light correction / HDR in Razer Synapse if you're backlit by a window — it compensates instead of you having to fix the room.
- Use the physical shutter to cover the lens when you're not on camera, instead of relying on software mute.
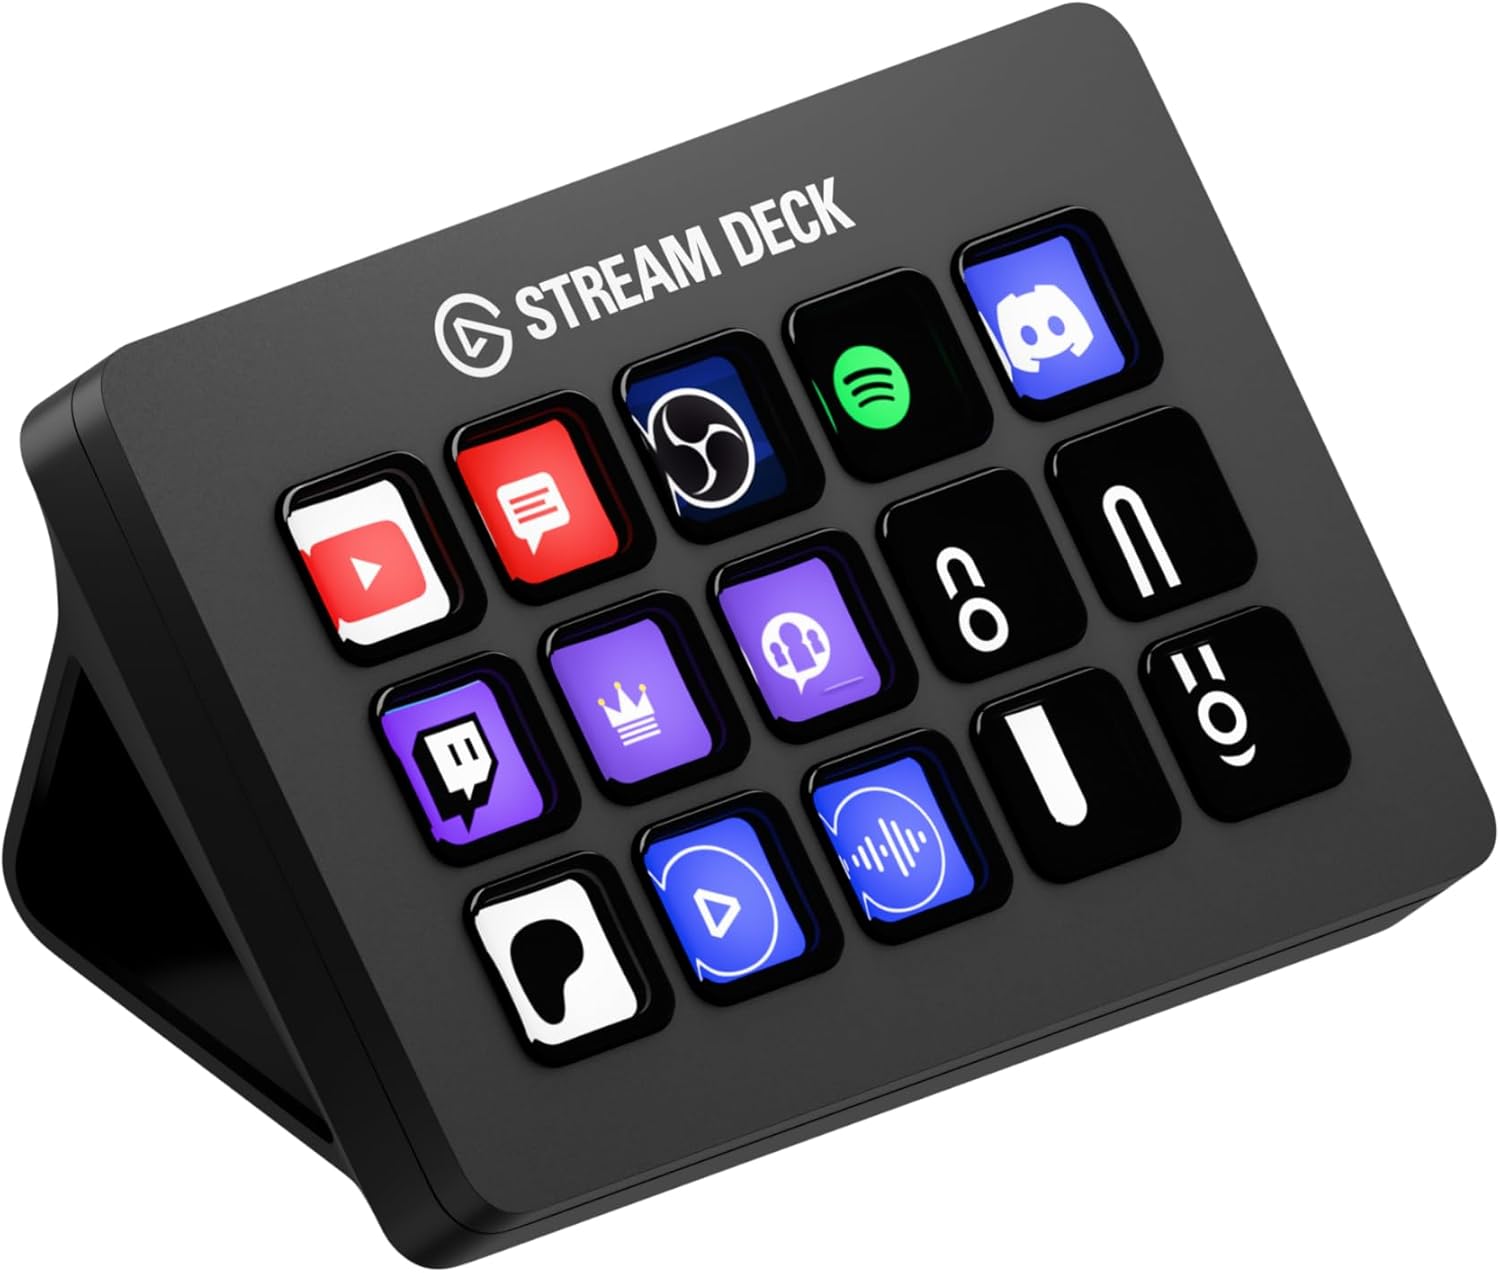
Control
Elgato Stream Deck MK.2 Studio Controller
15 programmable keys for scene switches, mute toggles, and app shortcuts.
How to set it up
- Install the Stream Deck software and connect via USB — it shows up as a grid of assignable keys in the app.
- Start with the basics: one key for mic mute (works with most USB mics, including the MV7+), one for your Key Light toggle, and 2–3 for OBS scene switches (Starting Soon / Live / Be Right Back / Ending) if you're using OBS.
- It's not OBS-only — it also has direct plugins for Zoom, Teams, and general keyboard-shortcut/app-launch actions, so it's useful even for plain video calls.
- Use a Multi Action key to chain steps together — e.g. one press that switches your OBS scene and mutes your mic at the same time, instead of two separate presses.
Tier 2
Level Up
Add these once Tier 1 is dialed in — they solve problems you won't notice until you're streaming or recording regularly.
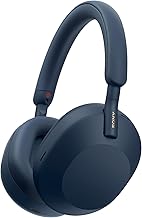
Monitoring
Sony WH-1000XM5 Noise Canceling Headphones
Closed-back noise-canceling headphones — for hearing your own stream without feeding it back into your mic.
How to set it up
- Use these instead of your desk speakers while recording or streaming — speakers leak into an open mic and cause echo or feedback for anyone listening back.
- Plug into the Shure MV7+'s built-in headphone jack for true zero-latency monitoring of your own voice, or connect via Bluetooth/USB to your computer for general audio.
- Listening on headphones is also the only reliable way to catch clipping, background hum, or echo before it's in your recording — your speakers will mask problems your audience will hear clearly.
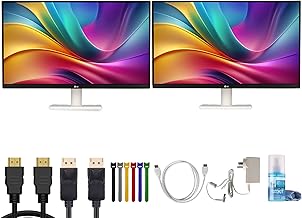
Display
LG UltraFine 27US500-W 27in 4K Monitor
A second 4K display dedicated to your streaming/call software, separate from your main work screen.
How to set it up
- Use it as a dedicated second screen for OBS preview, chat, or your Stream Deck software — keep your primary monitor clean for whatever you're actually doing on camera.
- Position it just off to the side of your camera, not directly behind it, so your eyeline doesn't drift away from the lens when you glance at it.
- If it's your only external display, put your call/recording software here and keep notes or slides on your laptop screen instead — the reverse makes it too easy to look away from camera.
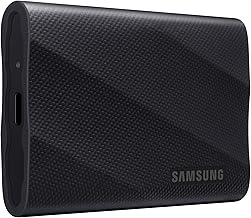
Storage
Samsung T9 Portable SSD 2TB
Fast portable SSD for local recording — a backup that doesn't depend on your stream staying online.
How to set it up
- In OBS, set up a second recording output pointed at the SSD's drive letter/path (Settings → Output → Recording), separate from your stream output, so you have a local file even if the stream drops.
- Point the recording path at the external SSD instead of your internal drive — this avoids disk I/O contention that can cause frame drops on longer sessions.
- Format it once, dedicate it to recordings only, and clear it out after each upload so you're not troubleshooting a full drive mid-session.
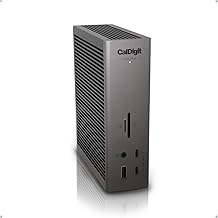
Connectivity
CalDigit TS5 Plus Thunderbolt 5 Dock
One Thunderbolt cable to your laptop instead of four separate USB cables for mic, webcam, Stream Deck, and monitor.
How to set it up
- Connect the dock to your laptop with a single Thunderbolt cable, then plug the mic, webcam, Stream Deck, monitor, and SSD into the dock instead of directly into your laptop.
- This is a Tier 2 item on purpose — with only 2–3 peripherals, plugging in directly is simpler. It earns its cost once you're juggling 4+ devices and want one cable to connect or disconnect when moving your laptop.
- Once set up, undocking and redocking should restore every connected device automatically — worth testing once so you're not debugging it mid-stream.
Common Questions
Do I need an XLR interface for the Shure MV7+?
No. USB-C direct to your computer is enough for most streamers and podcasters. XLR is only worth using if you already own a mixer or audio interface you want to route through.
Does the Stream Deck only work with OBS?
No — it has direct plugins for Zoom and Teams too, plus general keyboard-shortcut and app-launch actions. OBS integration is just the deepest of the built-in options.
Do I really need the dock if I only have a few devices?
Not at first. Plug in directly via USB until you're connecting 4 or more peripherals — the dock is there to solve cable chaos, not to add complexity before you have that problem.
What order should I buy in?
All of Tier 1 first — audio and light matter more than resolution or control. Add Tier 2 items as the specific problem they solve actually comes up for you (echo on calls → headphones, lost recordings → SSD, cable clutter → dock).
Prices and availability shown on the retailer's page at checkout, not here — they change too often to list accurately.